
Doughnut
One thing that I have always been interested in is the creation of 3D objects. So, when I found out about Blender, I was immediately began looking up tutorials. The specific tutorial that I found, was by Blender Guru on Youtube. Here he showed how to create a computer generated doughnut with the software. This post will discuss that process, but not that of creating the environment or the cup.
Link to tutorial – https://www.youtube.com/watch?v=TPrnSACiTJ4&list=PLjEaoINr3zgEq0u2MzVgAaHEBt–xLB6U


One of the first steps in creating this doughnut was to make the general shape of the doughnut. This was simple enough as Blender provides a Torus shape in their pre-sets. However, as I found out from the tutorial, the thing that makes 3D models realistic is the imperfections in the objects. This is shown in the first image as, in edit mode, vertices were extruded out to make the doughnut seem lumpy.
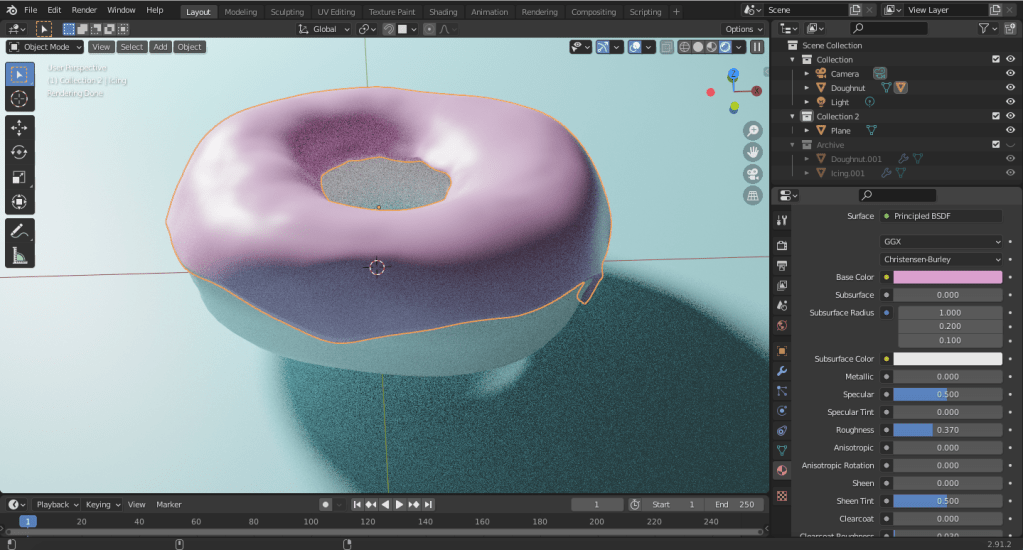
The next few images depict the creation of the icing on the doughnut. This was done by highlighting the top of the doughnut in edit mode and moving it up slightly. Then, in sculpt mode, the flatten and inflate tools were used to add imperfections on the icing. Subsurface scattering was then used to make it look like the light was effecting the icing, by traveling through it. Finally, the layer was thickened and a pink colour was added because, as Homer Simpson would agree, pink doughnuts are more aesthetically pleasing.
A slight crease was then added in the middle of the outside of the doughnut. This was because, when frying a doughnut, it floats. This then leads to the middle being the least cooked part of the doughnut. This imperfection, as previously mentioned, adds to the photo-realism of the 3D model.

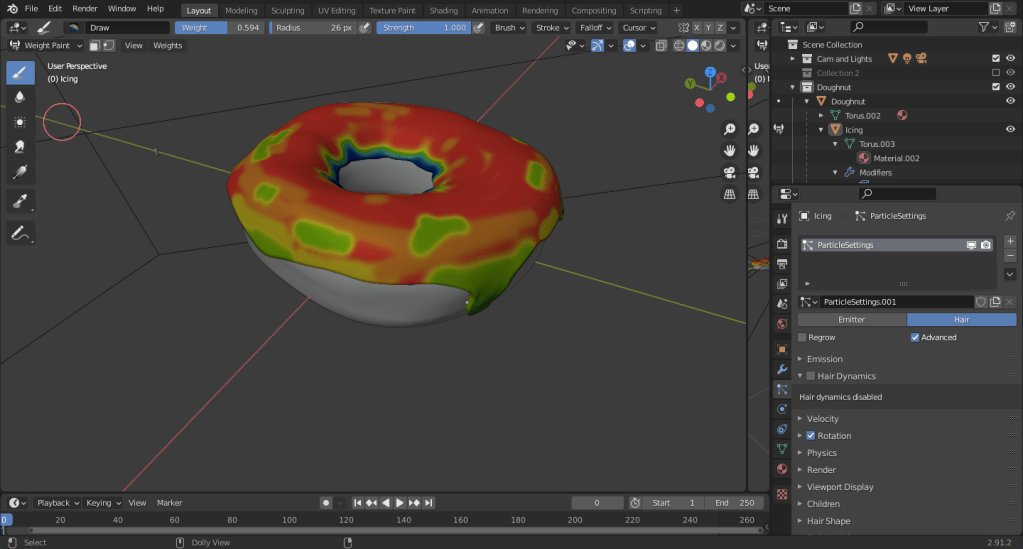
Once the colour had been added to the doughnut, next came the sprinkles. The first step was to create a single sprinkle and then, using a particles hair effect and by changing the render to the sprinkle object, it allowed me to add a lot of sprinkles onto the icing without placing them one-by-one. Then in the shading tab, I was able to highlight specific areas where I wanted more or less sprinkles to appear, as shown in the middle image. Next, I used an “object info” node and connected the “random” section to a “ColorRamp” node. This allowed me to specify colours and allow them to appear at random across the icing. The sprinkle was then duplicated multiple times, each one being modified to provide variation on the icing. All this allowed for the random, seemingly imperfect, feeling that the doughnut gives off.
The next step in creating the doughnut was UV unwrapping the mesh and bringing the doughnut into the “Texture Paint” tab in Blender. Here, a base colour was set for the doughnut. However, a lighter colour was then chosen and used to fill in the crease area. This makes the doughnut seem more realistic as the middle appears to be less cooked than the rest of the doughnut. A a darker shade was then used and a cloud texture added to give the effect that some bits of the doughnut were cooked more than others.
The final step to make the doughnut was adding a “Noise Texture” node, a “Texture Coordinate” node and a “Displacement” node. By using these three in tandem and adjusting the scale and detail parts of the “Noise Texture” node and connecting the “fac” point of that node to the “height” point of the “Displacement” node, a bumpiness was able to be added to the surface of the doughnut. Once again adding to the imperfections and thus the realism of the 3D object.
The final node maps can be seen below-


Lastly, I added plate underneath the doughnut, parented the doughnut to the plate and animated it sliding into frame with a bit of motion blur. Then after a very, very long time rendering, thirty frames had been exported. These thirty frames were then brought into Premiere Pro and pieced together.
Once the animation was complete, I recorded audio of a plate sliding on different surfaces and added it to the animation. This gave the final aspect of realism as the scraping sound makes it seem like the objects are really interacting with one another.
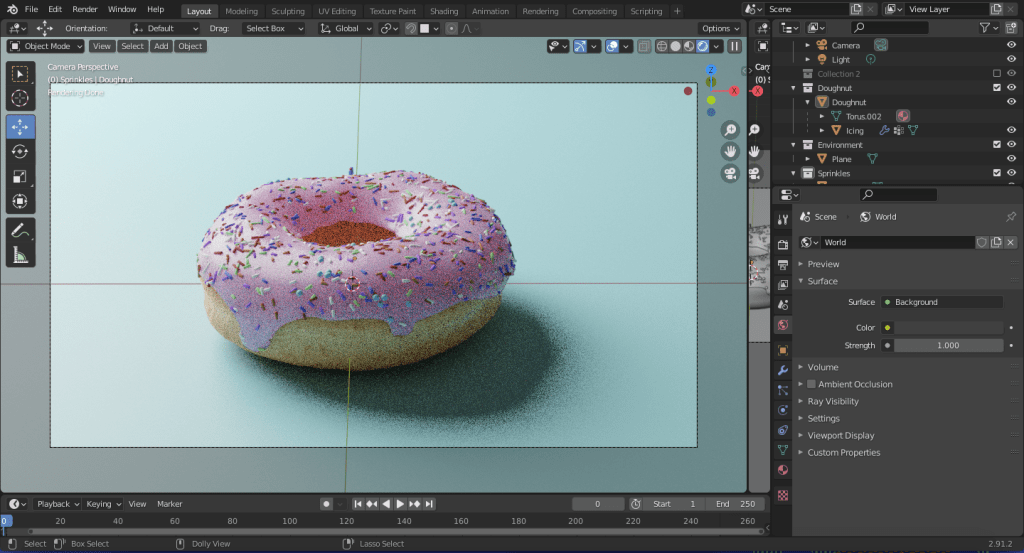
The final image can be seen below-

