Lightning Bending
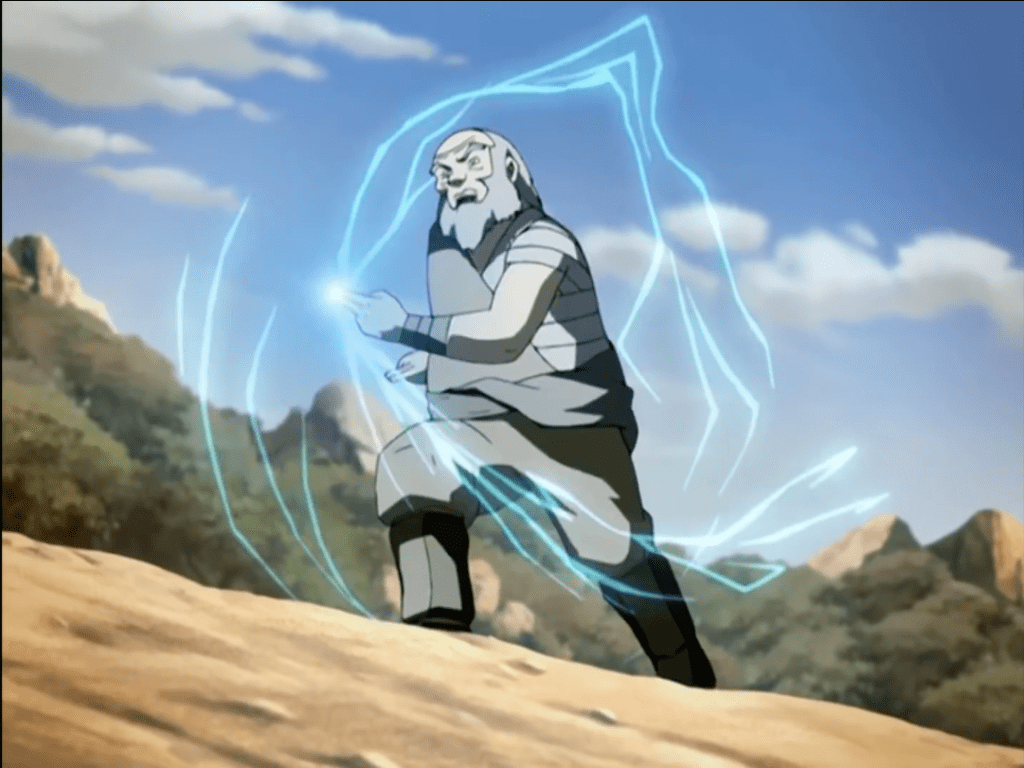
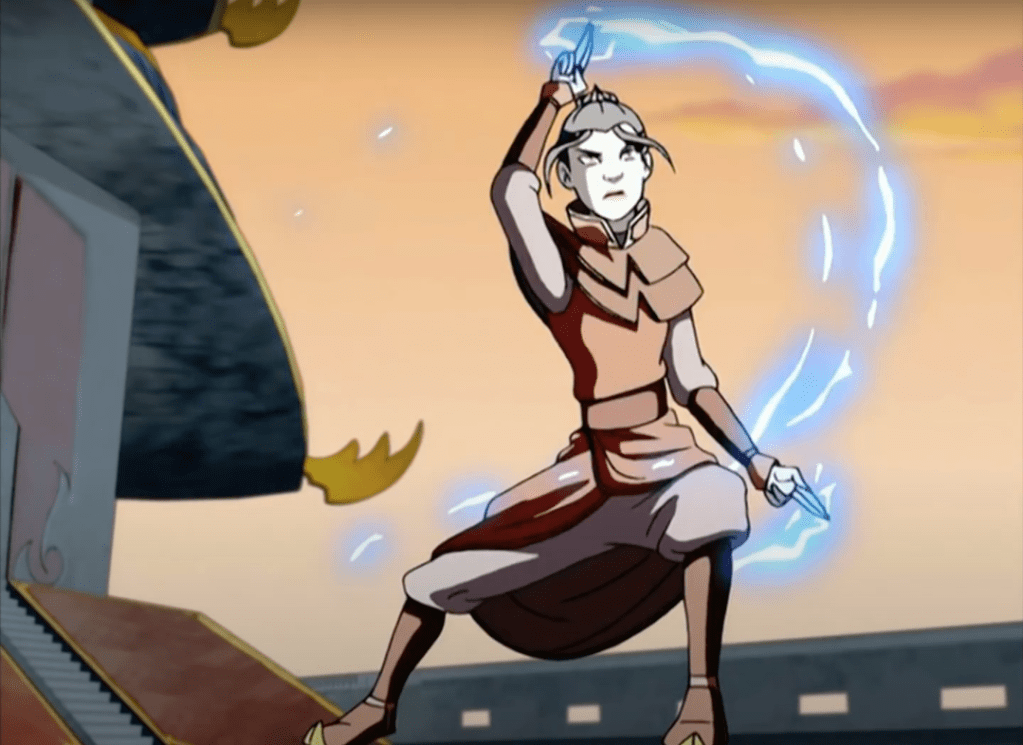
Recently I have been rewatching Avatar: The Last Airbender (in my opinion, one of the best shows ever made) and one of my favourite aspects of the show is characters having the ability to bend elements, in particular lightning.
This inspired me to try to create my own, live action, version of lightning bending.
To begin this process, I looked for tutorials where people had done similar effects to what I was trying to accomplish. However, this did not work out well as I couldn’t find one that gave the effect that I wanted. Then, as I was watching videos by Corridor Crew on their process in creating visual effects, they mentioned a website called Video Copilot. It was here where I found the tutorial that gave me the desired outcome.
Video Copilot link – https://www.videocopilot.net/tutorials/advanced_electric_fx/
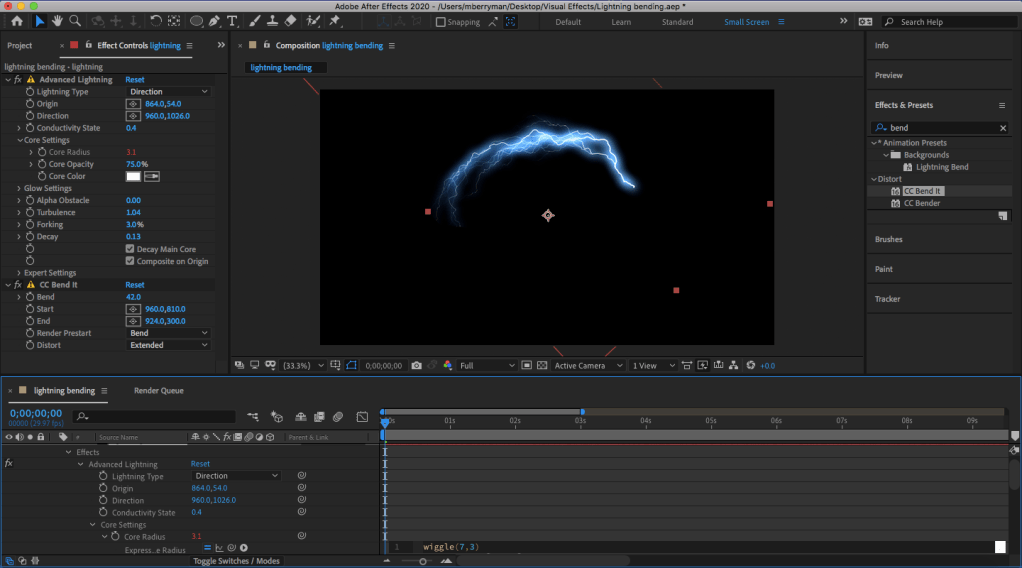
After following through the tutorial, I felt that I had a good grasp on how the Advanced Lightning feature in After Effects worked, allowing me to start on my own effect.
I will admit, in the beginning, I was a bit ambitious with what I could have created. This is evident in the image above as it was my attempt to do the build up that the characters do in Avatar: The Last Airbender. However, his ended up proving difficult as the movements that the characters perform in the show would involve a heavy amount of masking and animating the mask to the movements. For this reason I decided that the overall effect would look better if I cut this section.
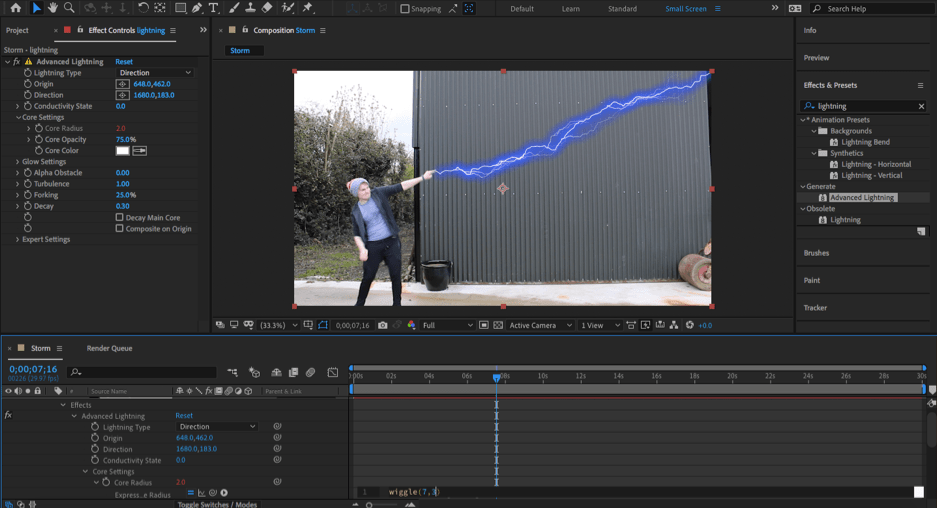
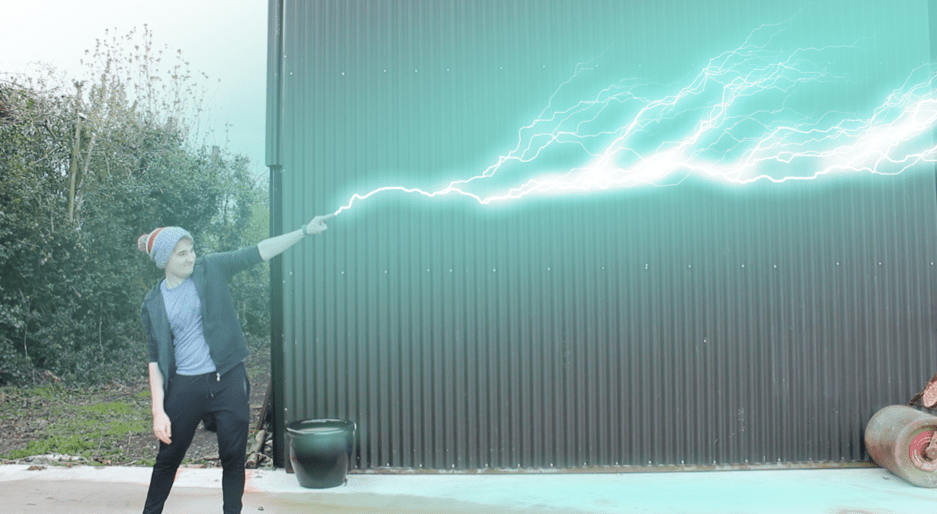
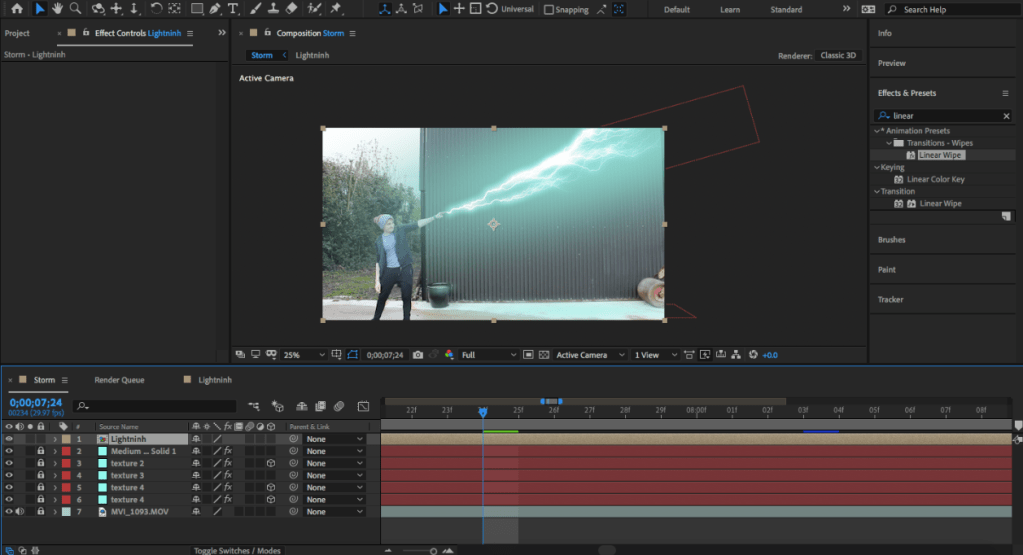
The next step in creating this effect was shooting the footage that would be used, throwing it into After Effects and adding an Advanced Lightning effect. Here, I used something I learned in the tutorial by adding in a “wiggle” and “time” expression to the lightning. This allowed the effect to move randomly, giving a more realistic feel to the lightning.
After making the lightning move in a natural way I had to tackle the look of the lightning, making it look like it was coming out of my fingers and animating it to follow the movements of my fingers. The first two of these were simple enough as the look of the lightning mainly involved lowering the size of the core, adjusting the forking of the lightning, giving it more of a glow and lastly, choosing the correct colour. I specifically chose this look as I felt it most accurately emulated the lightning from Avatar: The Last Airbender.
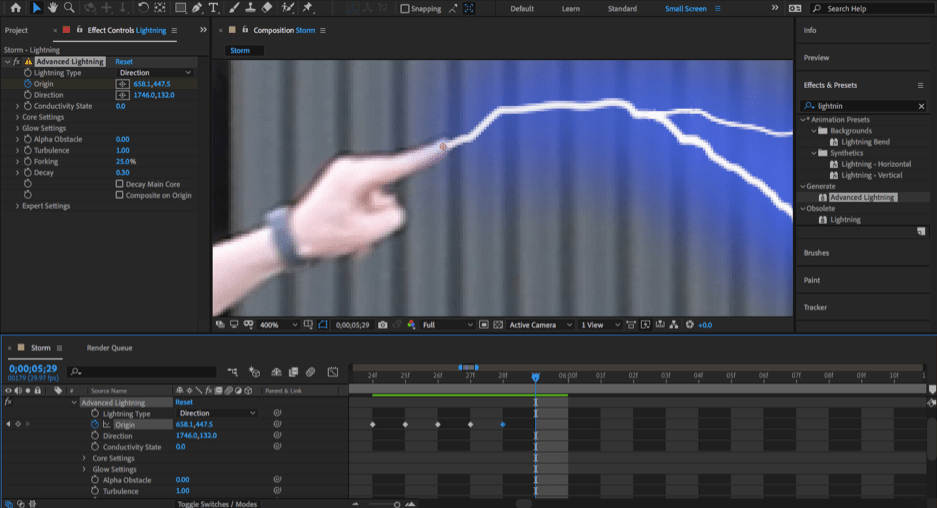
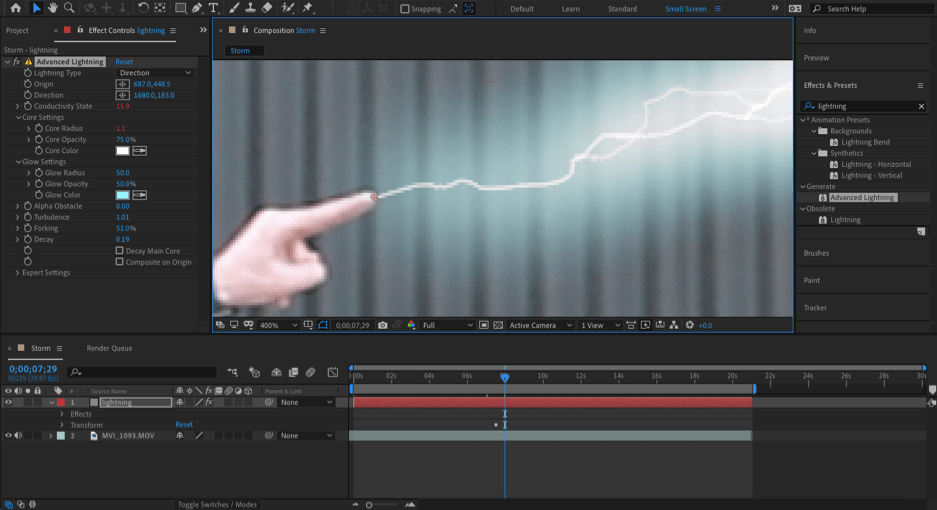
Making it look as though it was coming out of my fingers was also quite simple as it really just involved putting a keyframe at the point I wanted the lightning to begin from and lowering the opacity to zero and moving the destination point of the lightning beside the origin point. This was so that when I set the keyframe for the destination, it would look as though the lightning was growing out from my fingertips.
However, animating the lightning to the movements of my fingers was more, spur of the moment. This is because I took another look at how the lightning bending worked in the show and I still wanted to make it look like the lightning was building up before the arc actually came out. This meant going back through the lead up to the arc and setting the opacity back to 100% when I thought it would start building up. Then, I went through frame-by-frame and animated the lightning growing throughout the movement.
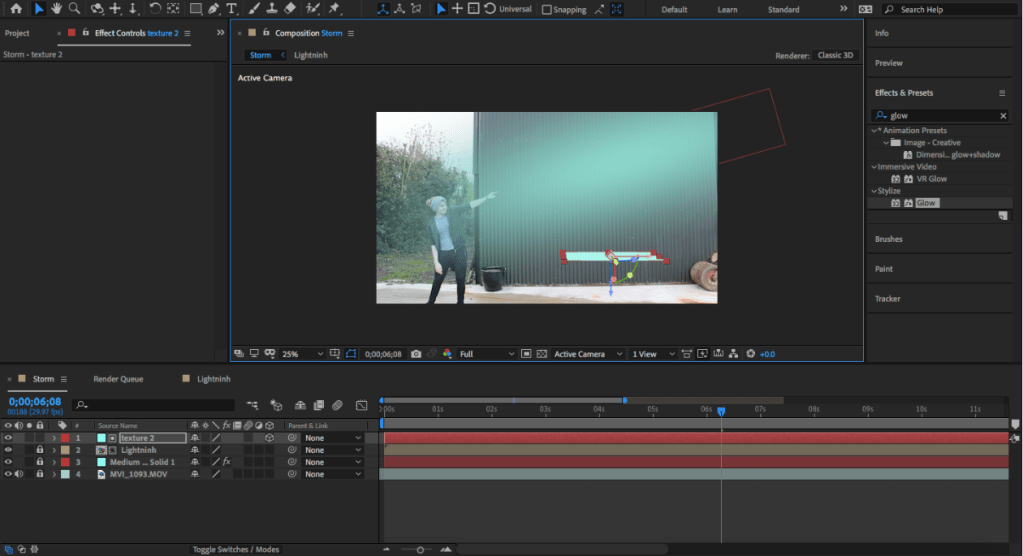
The final step in creating this effect was putting in the light to give the effect that the lightning was effecting the surrounding environment. This was actually quite simple as it really just involved creating a new solid that was the same colour as the lightning, adding a Fast Box Blur effect to it and finally putting in a linear wipe, so the light would follow the lightning.
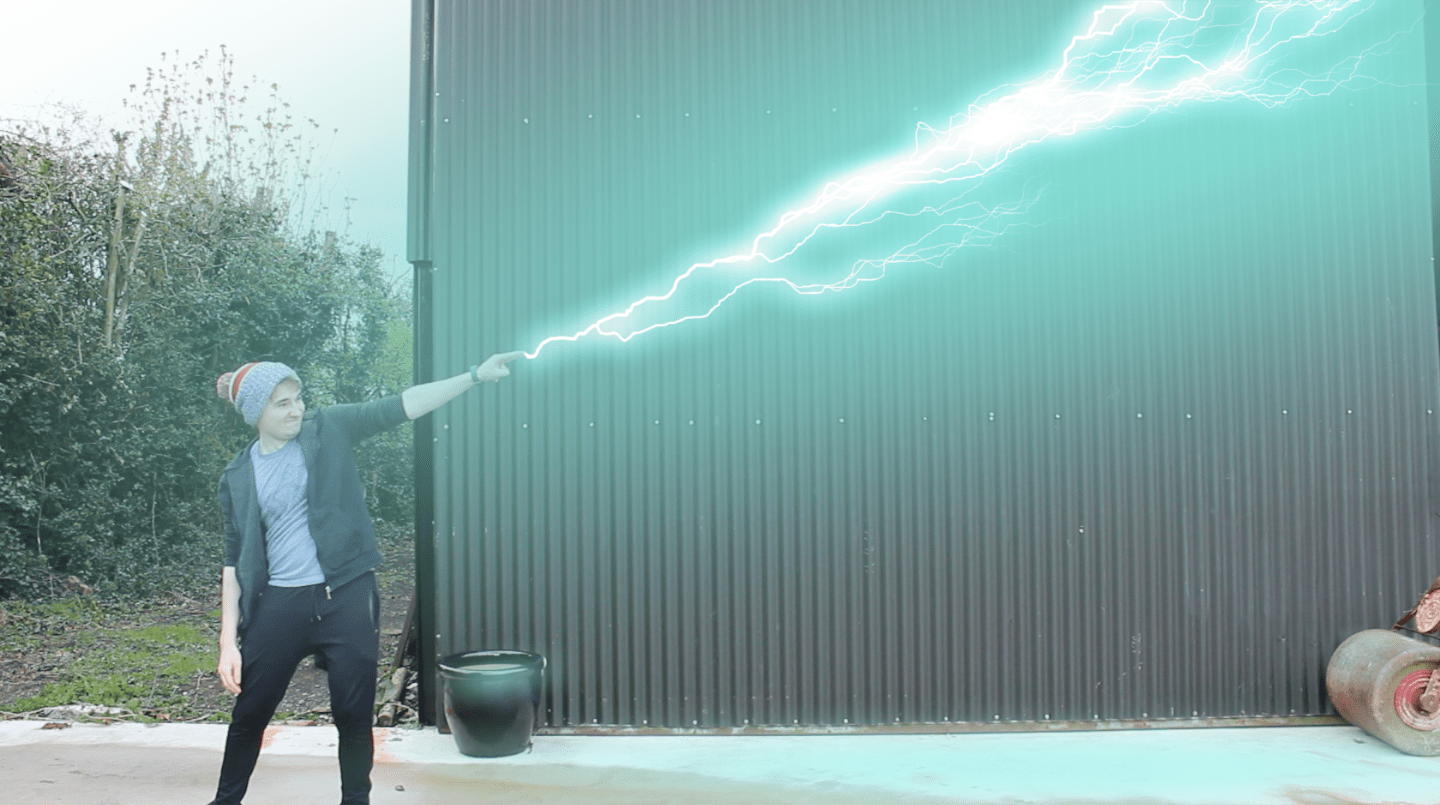
The tricky part of this however, was when I realised that the lightning wouldn’t just cast light on the door behind but on the floor and other objects as well.
Some parts of this problem took a bit of trial and error to figure out but for the most part, it involved the same steps as the lighting that was previously mentioned. The only difference being that these solid layers had to be converted to 3D objects. This then allowed me to adjust the light to the point it would actually be hitting if the lightning was really there.
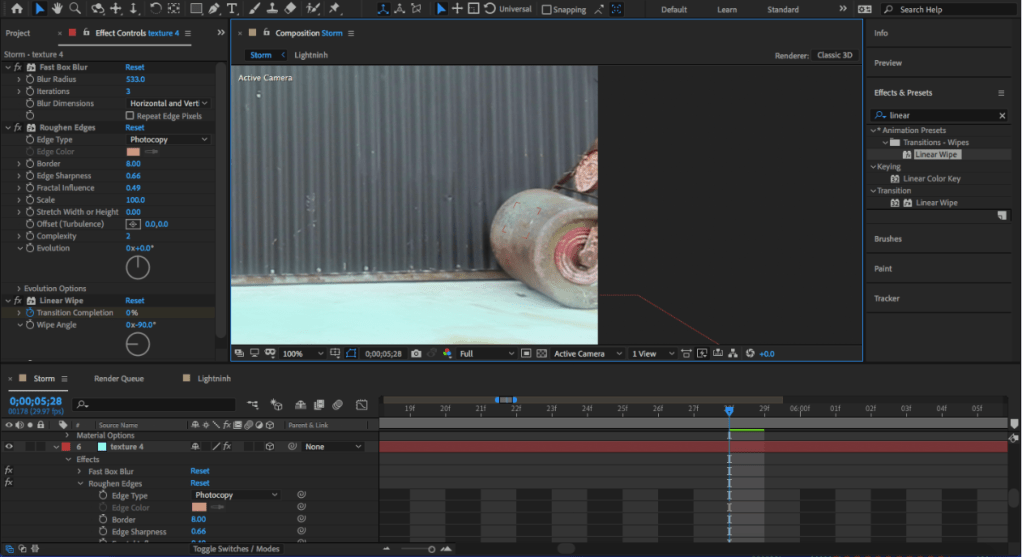
However, the challenge came when lighting the objects at either side of the screen. This is because, due to their shape, it took a bit of manipulation with the 3D solid and coordinating the timing of the keyframes so that the light would flow correctly. This then presented another problem which was that both objects would reflect light differently as one is reflective and the other isn’t. The solution for this was to lower the radius of the Fast Box Blur on the reflective surface so it would appear brighter, thus more reflective and adding a rough effect to the non-reflective surface to make it look more dull. This effect also allowed for inconsistencies in the lighting which added to the realism even further as it looked as though the light was being effected by the surface of the object. This can be seen in the images above.
All of this led to the final product which can be seen below.