Eye Colour
To begin making my showreel, I thought I would try an effect that I had done before. Changing the colour of an iris. However, I quickly realised that I was not as adept with After Effects as I once was.
The first box that had to be checked when carrying out this effect was to shoot the footage that was going to be used. This probably ended up being the most difficult part as trying to film myself, without a monitor, proved rather tricky. This meant that most of the footage was out of focus. However, after a bit of luck, I managed to shoot this footage.
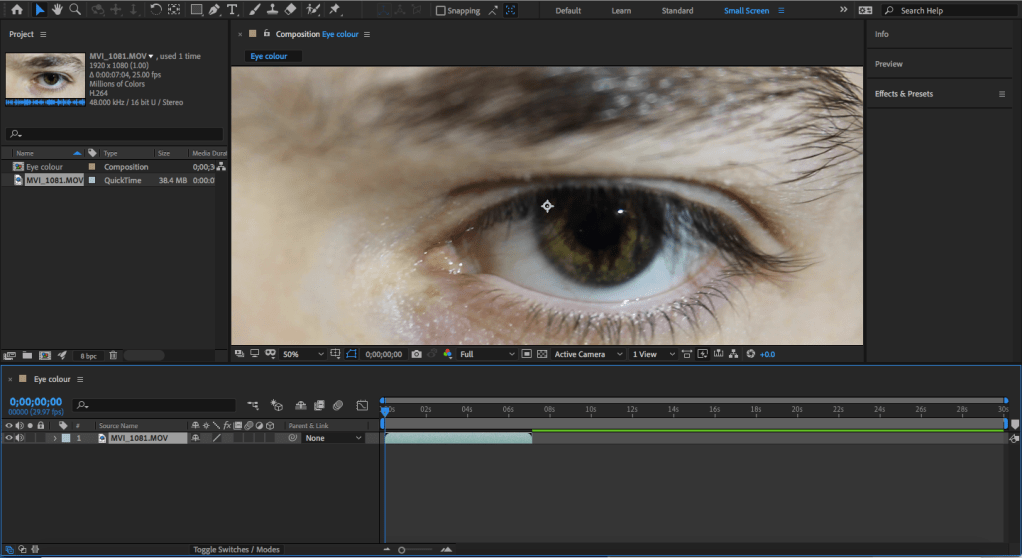
The next step was to bring the footage into After Effects. Here, I tracked the footage and created a black solid object and made a mask around the iris of the eye and paired it to the track null object. Then, I changed the colour of the solid to purple and dropped the opacity to 50% as a means of keeping the details of the iris. Lastly, I added a feather effect to the mask so it would be able to blend with the original footage.
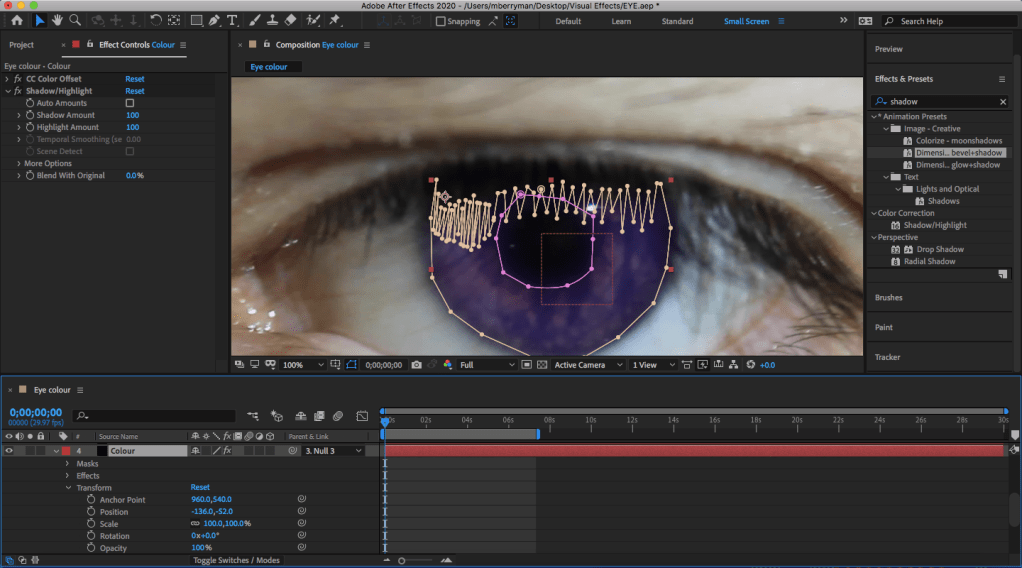
After getting the colour of the eye correct, I moved to adjusting the mask of the effect. In the beginning of this part, I quickly realised that the mask around the iris added a purple colour to the otherwise black eyelashes. This meant that I had to change the mask to make it suit better as shown in the photo above. Then, a similar problem arose with the pupil, meaning I had to create a mask around it and pair it to the main mask. I then feathered the mask to allow it to easily transition from one mask to the other.
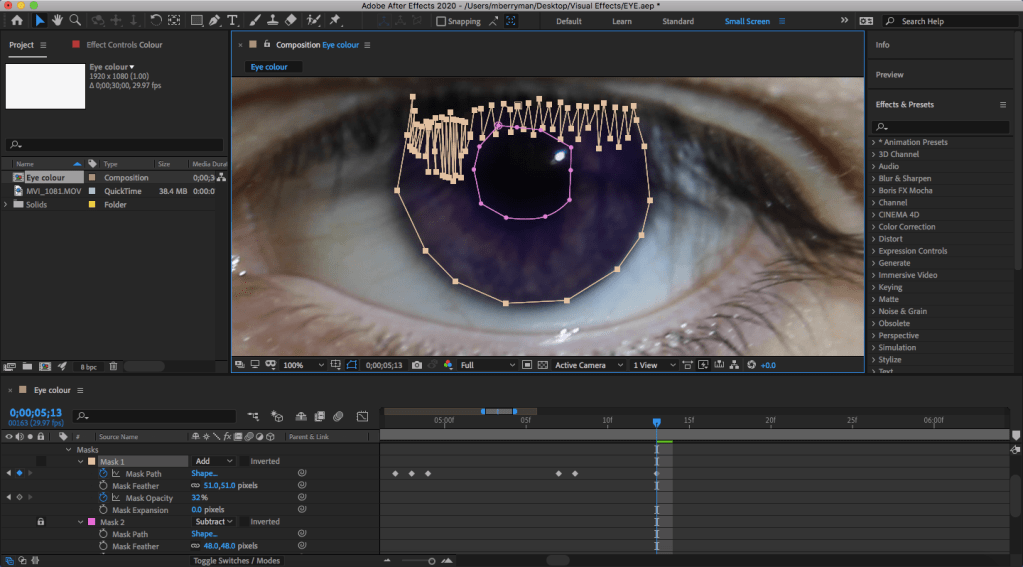
Finally, I had to work on the movement of the mask to allow it to match the footage better. This is because, although tracking the movement provided a foundation, it did not account for the blinking and it would also not follow the eye at some points. To fix this, I went through and changed the size of the mask and the opacity to account for the blinking. Following this, I then went through the video and adjusted the position of the mask using keyframes. After this I then rendered and exported the video.
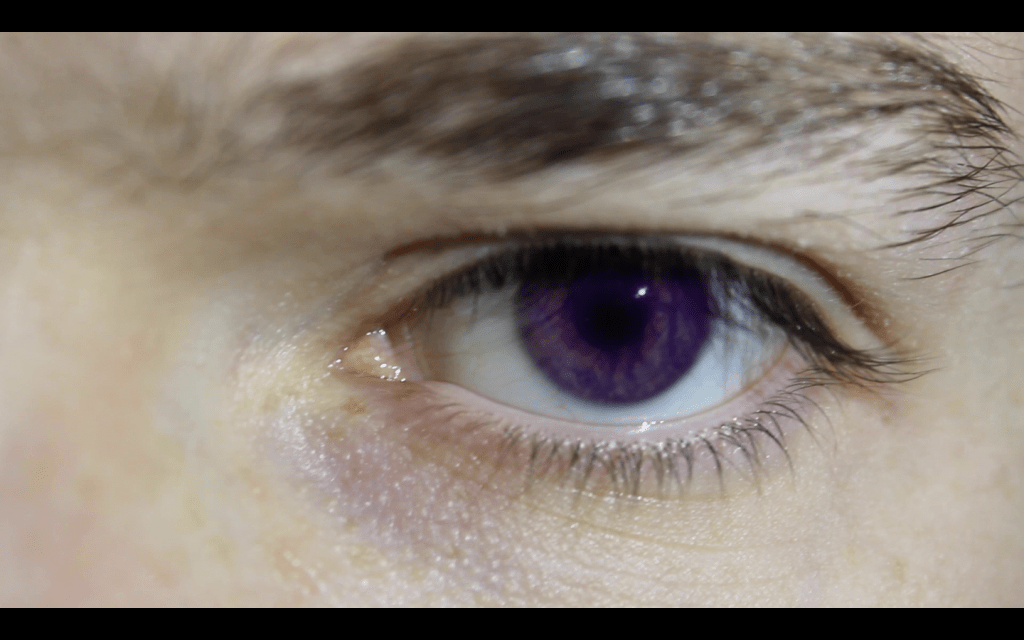
However, after looking at the rendered effect, I realised that there were problems with the movement and the mask around the pupil. So, I went back into After Effects and feathered the pupil mask more to make the line less harsh. I then went through the video frame by frame and added keyframes to adjust the movement of the mask more precisely. I, once again, rendered and exported the video. The final effect is shown below.